
Sharing is Caring
- You are here:
- Home »
- Blog »
- How-To
- » How to Make a Homemade Bike Ramp

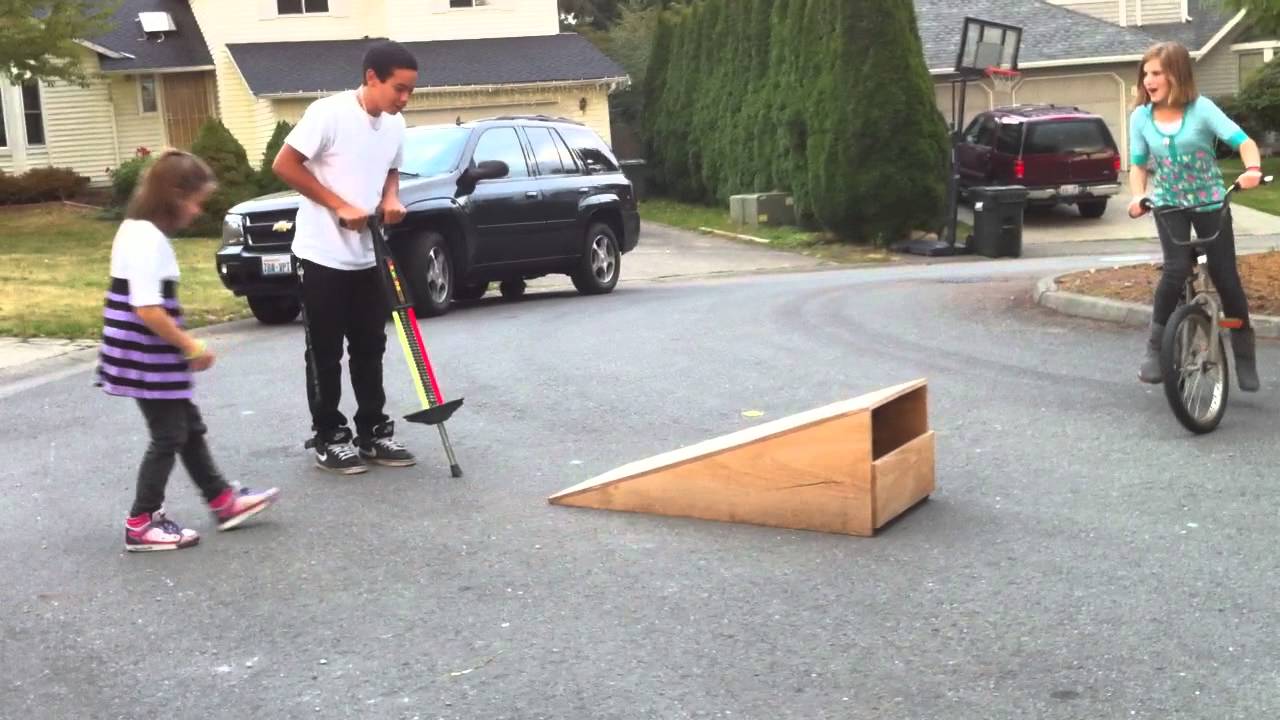
How to Make a Homemade Bike Ramp
This is relatively a simple project. It is cost-effective and it also does not take lots of time. It is very beneficial as well. You can customize the height and width of the ramp by building it yourself. At first we have to look at the things that we need to successfully finish the process.
Things needed to build a ramp at home
- 1 – 3/8 inch thick piece of plywood (4-by-8 foot)
- 10-foot 2-by-4 board
- 1-inch screws
- Hand saw or circular saw
- Pencil
- Measuring tape
- Utility knife
- Jigsaw
11 Steps for Building the Ramp
- Measure and then cut out three 12-by-24 inch rectangle shaped pieces from a plywood sheet.
- After that place the three pieces on top of one another. They should lay even just like a deck of cards.
- Then sketch a curve on the rectangle that you have placed on the top of the deck. The steeper you sketch the curve, the higher your ramp will be.
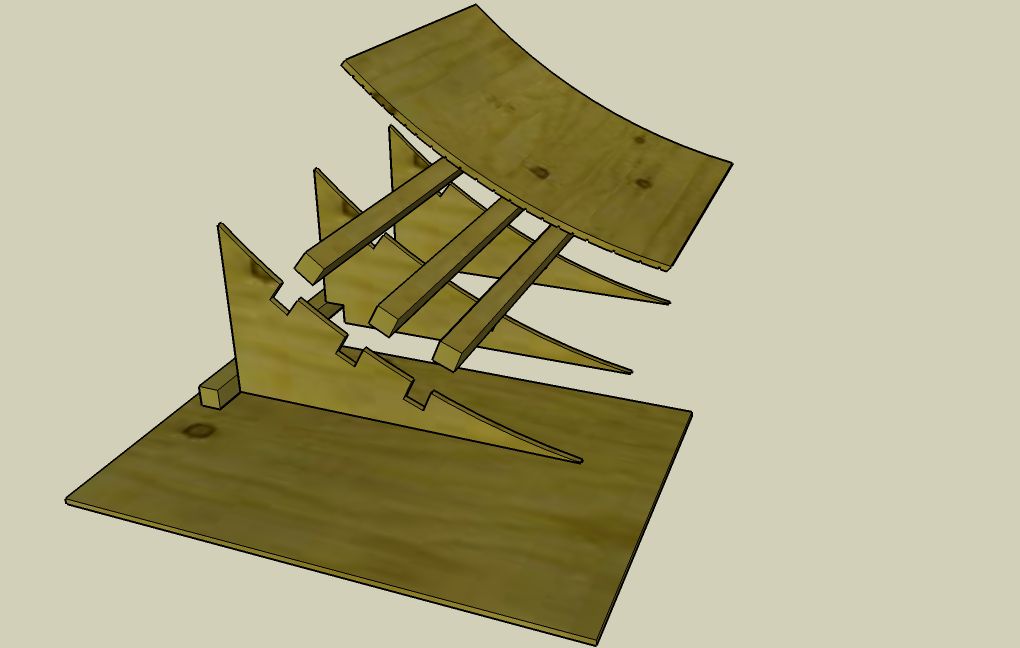
- After that cut each board in the same way with a jigsaw by strictly following along the curved line. Now you will have three curved boards that you can use for the vertical supports. These supports will be used to hold the deck of the ramp.
- Now you have to measure as well as mark three different places on the one vertical support board. One mark should be at the top, one in the middle and one on the down side.
- Mark the other two support boards in the same way. You should make sure that the measurement is correct for all so that all the points add up in the end. These spots are for horizontal support beams which will connect all the three vertical supports.
- Now cut the 10-foot 2-by-4 board into thirty inch pieces which will ultimately become your cross beams. You need to trace the end side of the cross beams on the curved vertical boards that you have marked already. This will give you an exact outline of your beams. You have to cut slots the size of your 2-by-4 horizontal beams. In this way they can lay snug inside the slots.
- Now connect the vertical curved boards with the 30-inch 2-by-4 boards. The 30-inch boards should be placed inside the slots.
- Now you have to cut your plywood board with a handsaw. You may also use a circular saw. You just need to produce 30-by-30 inch pieces. You have to score the backside of the pieces with a utility knife. Each score should have 1/8 inches depth and 1 to 1-1/2 inch space. It helps your plywood bend more easily to the curve of the vertical support beams.
- You need to place the scored pieces of plywood board on the vertical support structure. The scored side should be down. Screw it with 1-inch long screws into the horizontal beams.
- Now you have to put three screws going across the top. Another three should go across the middle and another three across the bottom of the beams.
Hope you have done it successfully. Now again come to the plywood. Cut a 34-by-34 inch long piece of plywood. This will be used for the base of the ramp. You have to flip over the ramp and them attach the base to the bottom of the ramp with the help of a 1-inch long screw. You need to make sure that the back of the ramp sticks out 8 inches than the front. This ensures that the ramp does not tip over.